Tamagoyaki — The Japanese Rolled Omelette
Tokyo's most beautiful everyday dish. Layers of gently sweet, savoury egg rolled into a perfect golden rectangle — a staple of breakfast tables, bento boxes, and sushi counters across Japan.
As an Amazon Associate, I earn from qualifying purchases.
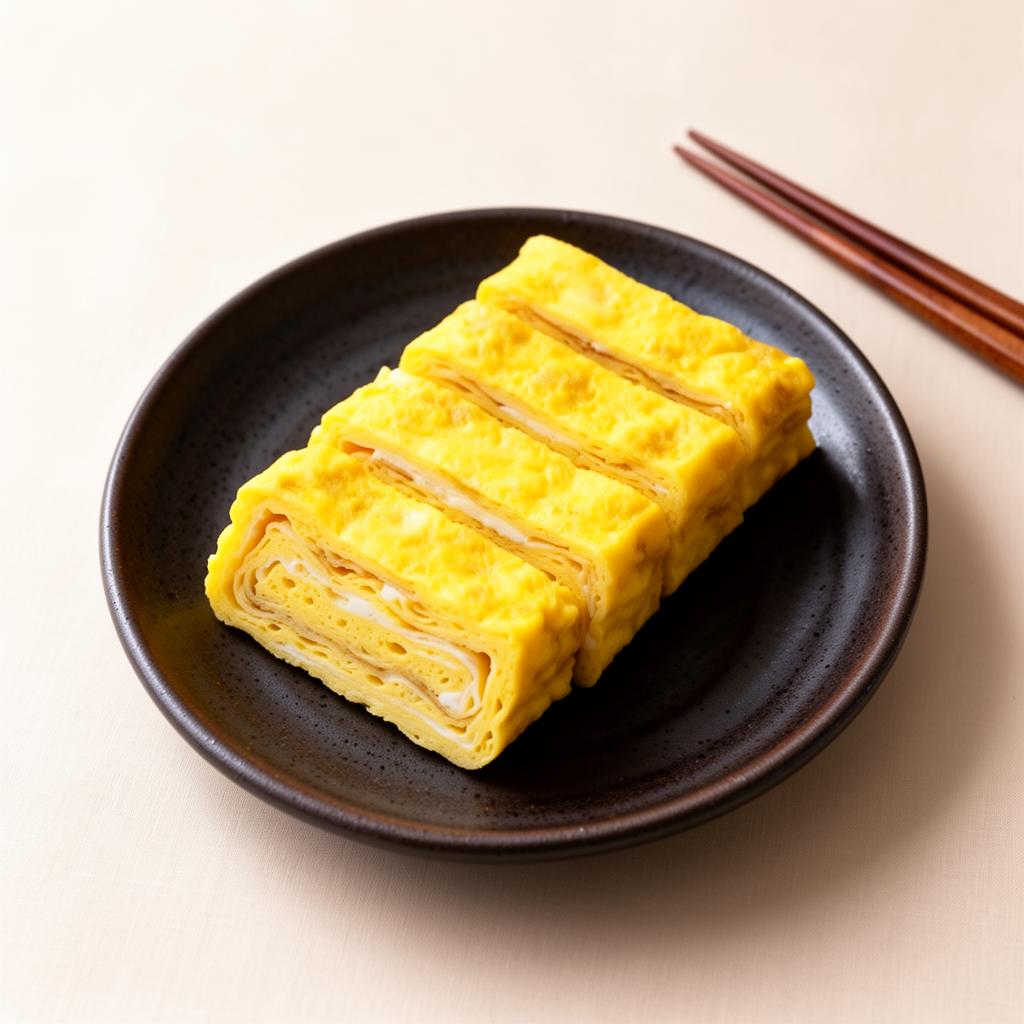
Tamagoyaki is one of those rare dishes that is simultaneously the most everyday food in Japan and one of the truest tests of a cook's technique. You will find it in breakfast sets, tucked into bento boxes, and lined up at the sushi counter as a quiet final course. Three eggs, a spoonful of dashi, a whisper of mirin and soy — it sounds simple, and it is, until you try to roll it. Get it right and you have something genuinely beautiful: clean golden layers, faintly sweet, perfectly square. This is the technique, gram by gram.
Ingredients
For the tamagoyaki
- 3Large eggs (approx. 50g each without shell)
- 45mlDashi stock, cooled
- 10mlMirin
- 5mlUsukuchi (light) soy sauce
- 8gCaster sugar
- 1 pinchFine salt
- 10mlNeutral oil (vegetable or sunflower), for the pan
Scaling this recipe?
Use our free recipe scaler to adjust every ingredient for any number of servings instantly.
Scale this recipeEquipment
You will need:
- Tamagoyaki pan (makiyakinabe) OR a small non-stick skillet (20cm)
- Chopsticks or a small offset spatula
- Fine-mesh sieve
- Bamboo sushi mat or a sheet of baking paper
- Paper towel (for oiling the pan)
- Digital kitchen scale
Method
- 1Step 1 — Make the dashi
If making dashi from scratch, combine a 10g piece of kombu with 500ml cold water. Heat slowly to 60°C and hold for 20 minutes — do not boil. Remove the kombu, bring to a gentle simmer, add 15g katsuobushi (bonito flakes), steep for 3 minutes off the heat, then strain. Cool before using. Alternatively, dissolve 1 tsp dashi powder in 45ml hot water and cool completely. You need 45ml for this recipe.
- 2Step 2 — Mix the egg mixture
Crack the eggs into a bowl. Using chopsticks or a fork, stir in a gentle side-to-side motion — do not whisk vigorously or beat in air. Add the cooled 45ml dashi, 10ml mirin, 5ml soy sauce, 8g sugar, and 1 pinch salt. Stir until the sugar dissolves completely. For the smoothest result, strain the mixture through a fine-mesh sieve into a pouring jug. This removes any stringy egg white and gives you clean, even layers.
- 3Step 3 — Heat the pan
Heat a tamagoyaki pan (or small non-stick skillet, 20cm) over medium-low heat for 2 minutes. Fold a piece of paper towel, dip it in the 10ml oil, and use it to coat the entire pan surface including the sides. Test the temperature by dropping a small amount of egg mixture into the pan — it should sizzle gently and set within a few seconds without browning immediately.
- 4Step 4 — Cook the first layer
Pour roughly one third of the egg mixture into the pan and tilt immediately so it spreads into a thin, even layer covering the entire surface. When the surface is mostly set but still slightly wet on top — about 30 to 40 seconds — use a spatula or chopsticks to roll the egg from the far end toward you, creating a log at the near edge of the pan.
- 5Step 5 — Build the layers
Slide the rolled log back to the far end of the pan. Re-oil the exposed pan surface with your paper towel. Pour in the second third of the egg mixture and tilt so it coats the whole pan, flowing underneath the existing roll. When mostly set, roll again from the far end back toward you, incorporating the existing log into the new layer. Repeat with the final third of the mixture.
- 6Step 6 — Shape and rest
Remove the finished roll from the pan onto a bamboo sushi mat or a sheet of baking paper. Roll it firmly and hold the shape for 3 to 4 minutes while still warm — the residual heat finishes cooking the centre and the pressure sets the rectangular shape. If you don't have a sushi mat, simply press the roll gently into shape with your hands and rest on a chopping board.
Rest: 3 to 4 minutes while warm - 7Step 7 — Slice and serve
Unwrap and cut the tamagoyaki crosswise into slices approximately 2cm thick. The cut face should reveal clean, defined golden layers. Serve immediately as part of a Japanese breakfast with steamed rice and miso soup, slice thinly for a bento box, or serve at room temperature with a few drops of soy sauce and a small mound of grated daikon if you have it.
Chef notes
- On the pan: A rectangular tamagoyaki pan (makiyakinabe) gives you the cleanest rectangular shape and is worth buying if you plan to make this regularly — they are inexpensive and last a lifetime. We use and recommend this one. A small round non-stick pan works perfectly well; your roll will be slightly cylindrical rather than rectangular, which is completely fine.
- On the dashi: Good dashi is the difference between a flat omelette and something genuinely special. If making from scratch feels like a step too far on a weekday morning, good-quality dashi powder (available at Asian supermarkets or online) dissolved in the correct weight of water is a very respectable shortcut.
- On the soy sauce: Usukuchi (light) soy sauce keeps your tamagoyaki golden. Regular dark soy sauce works but will darken the layers noticeably. Either is correct — it is a matter of aesthetics, not flavour.
- On the rolling: The first attempt is almost never perfect. The layers will tear, the roll will be uneven, and the shape will not be rectangular. This is completely normal. Make it twice and the muscle memory begins to form. Make it ten times and it becomes one of the most satisfying things you do in a kitchen.
- On temperature: The single most common mistake is too much heat. Medium-low throughout. If the egg browns before you can roll it, lower the heat further. Patience is the technique.
Convert any measurement
Need to convert grams to millilitres or teaspoons to grams? Our ingredient converter handles every measurement instantly.
Open converterMaking this for a crowd?
Scale every ingredient for any number of servings with our free recipe scaler.
Scale this recipe