How to Sterilize Canning Jars
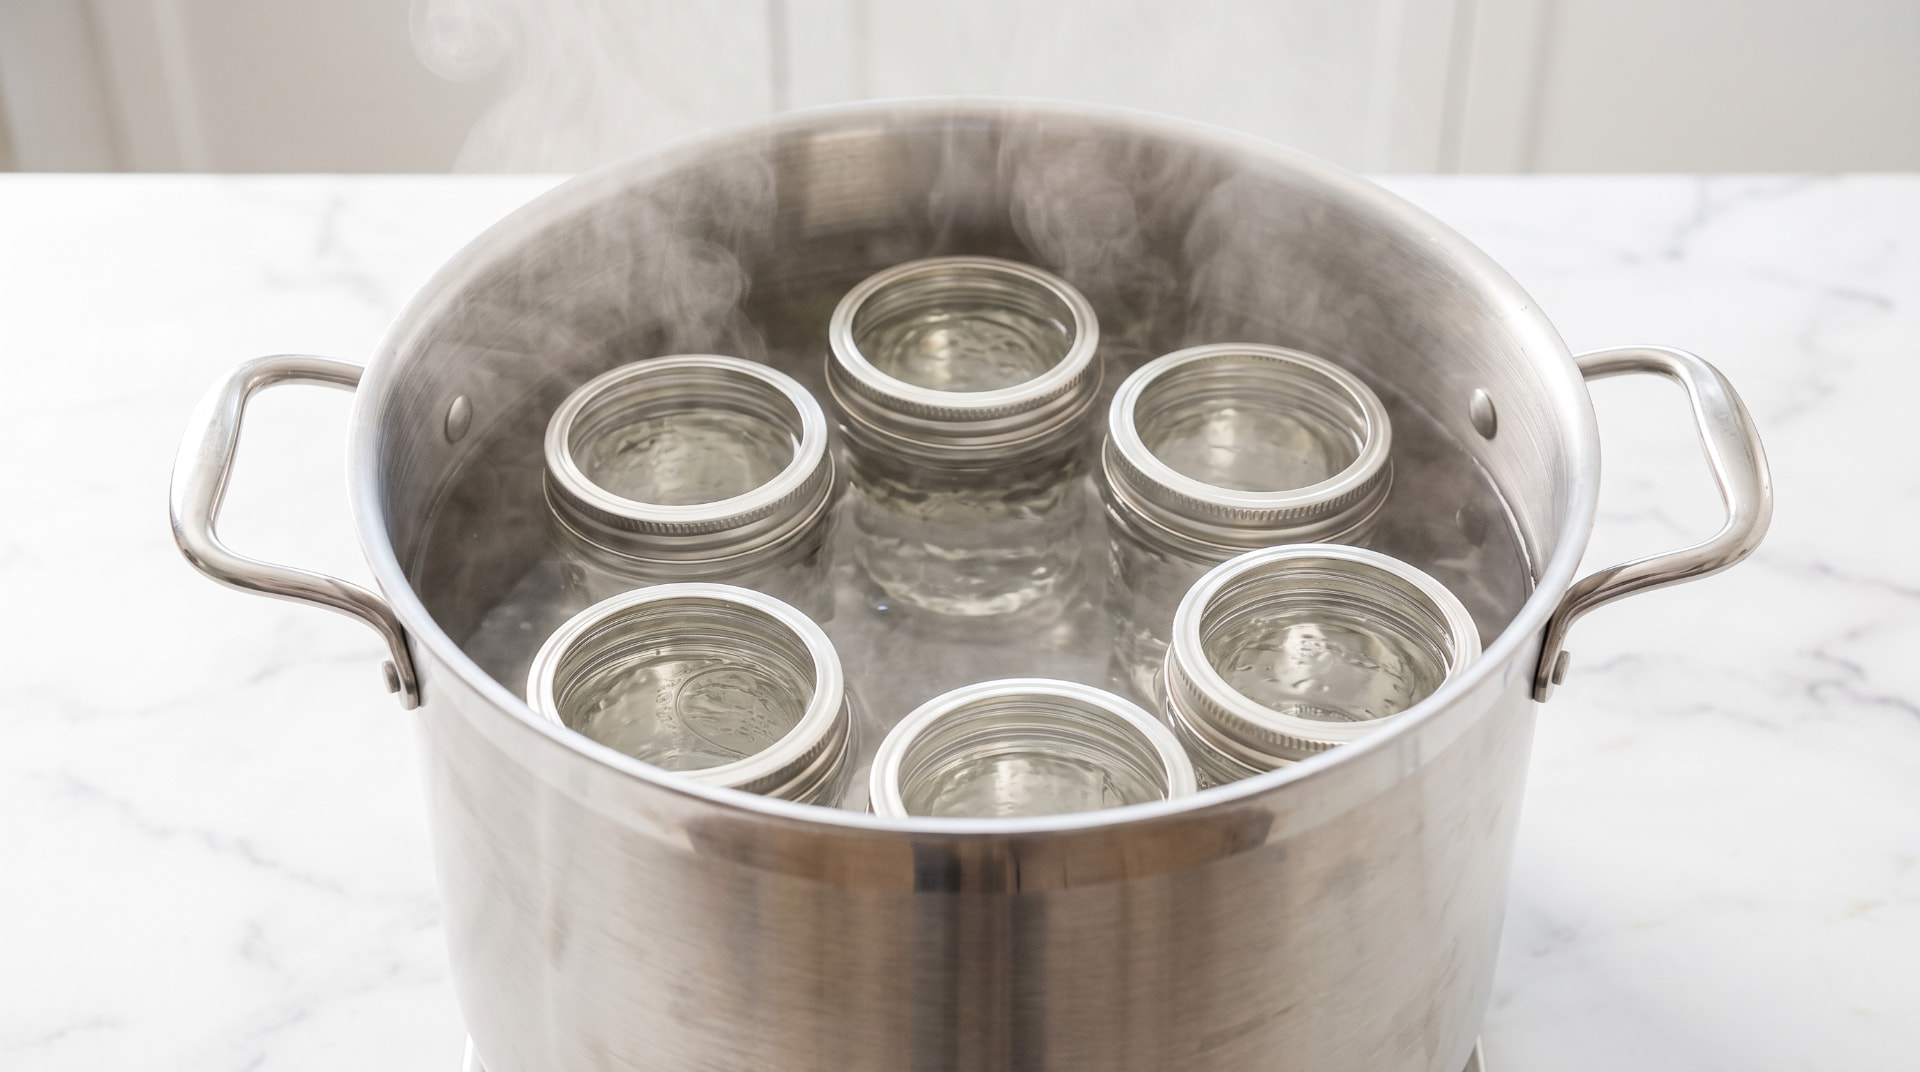
Sterilizing canning jars is one of those steps that sounds like it should apply to every batch of jam, pickle, or preserve you make, but it doesn't. Whether you actually need to pre-sterilize depends on how long your recipe processes in the boiling water bath, and knowing the difference will save you time without compromising safety. Here's when sterilization matters, how to do it correctly, and the mistakes home canners make most often.
Quick Reference
| Question | Answer |
|---|---|
| Do all canning recipes need sterilized jars? | No, only recipes processed less than 10 minutes in a boiling water bath |
| How long do I boil jars to sterilize them? | 10 minutes at 0 to 1,000 ft, plus 1 minute for every additional 1,000 ft of altitude |
| Does washing jars count as sterilizing? | No, washing removes dirt and residue but does not sterilize |
| Can I sterilize jars in the dishwasher? | Only if the sanitize cycle guarantees sustained heat for at least 10 minutes, most regular cycles don't |
| Do I need to sterilize jars for pressure canning? | No, pressure canning always reaches sterilizing temperatures regardless of processing time |
Why Sterilizing Matters
Canning preserves food by heating it to a temperature high enough to destroy bacteria, yeasts, and molds, then sealing it in an airtight jar. When the processing time is long enough, the heat inside the jar during processing does the sterilizing on its own. When the processing time is short, however, the heat may not have enough time to eliminate everything on the jar itself, which is why sterilization ahead of time is required for those recipes.
Do You Need to Sterilize Your Jars?
The rule from the National Center for Home Food Preservation is simple. If your recipe's processing time is 10 minutes or more in a boiling water bath, the processing itself sterilizes the jars, so pre-sterilization isn't necessary. If your recipe processes for less than 10 minutes, the jars must be pre-sterilized before filling. This most often applies to high-sugar recipes like jams, jellies, and marmalades. Altitude also affects your total processing time, so if you're canning above 1,000 feet, use our Water Bath Canning Altitude Adjustment Calculator to find your adjusted time.
How to Sterilize Canning Jars
- Wash jars first. Even jars you're about to sterilize need a thorough wash in hot, soapy water, rinsed well to remove any soap residue. Sterilizing isn't a substitute for cleaning. A set of glass mason jars with separable lids works well here, since new jars go straight into your rotation without needing extra prep.
- Set jars on a rack. Place a canning rack in the bottom of a large pot or your water bath canner, then stand the empty, washed jars upright on it. Setting jars directly on the bottom of the pot can cause them to crack from uneven heat. A canning starter kit that includes the pot, rack, tongs, and jar lifter together is an easy way to get set up if you don't already have the equipment.
- Cover with water. Fill the jars and the surrounding pot with water until the level reaches 1 to 2 inches above the tops of the jars.
- Boil for the correct time. Bring the water to a boil and boil for 10 minutes at 0 to 1,000 ft. Add 1 minute of boiling time for every additional 1,000 feet of altitude.
- Keep jars hot until filling. Leave the jars in the hot water until you're ready to fill them. Remove one at a time with a jar lifter, draining the water back into the pot, and fill immediately while still hot.
Preparing Lids
Lid preparation has changed over the years, so always follow the instructions printed on your current lid packaging. Most modern two-piece lids only need a wash in warm, soapy water before use, and boiling is no longer recommended by most manufacturers because it can damage the sealing compound.
Common Mistakes to Avoid
- Skipping the altitude adjustment. Boiling jars for exactly 10 minutes at a high altitude isn't enough, add the extra minute per 1,000 feet.
- Assuming a dishwasher sanitize cycle sterilizes jars. Unless the cycle specifically guarantees sustained high heat for at least 10 minutes, treat it as a pre-wash, not a sterilizing method.
- Letting jars cool before filling. Sterilized jars should stay hot until they're filled. Filling a cooled jar with hot food can cause thermal shock and cracking.
- Using jars with nicks or cracks. Even small scratches or chips can cause breakage during processing. Inspect jars before every use and retire any with visible damage.
- Ignoring hard water buildup. If jars have a cloudy film from hard water, soak them for several hours in a solution of 1 cup vinegar (5 percent acidity) per gallon of water before your next use.
Frequently Asked Questions
Do I need to sterilize jars every time I can something?
No. You only need to pre-sterilize jars when your recipe's processing time is less than 10 minutes in a boiling water bath. For longer processing times, washing and keeping jars hot is enough.
Can I reuse canning jars for sterilizing?
Yes, as long as they're free of nicks, cracks, or chips, especially around the rim where the lid seals.
How do I know if my dishwasher actually sterilizes jars?
Check your dishwasher's manual for a sanitize cycle that specifies a sustained water temperature held for at least 10 minutes. If it doesn't specify this, treat the cycle as a wash only, not a sterilizing method.
Do I need to boil the lids too?
Check the manufacturer's instructions on your lid packaging. Most modern two-piece lids only require a wash in warm, soapy water rather than boiling, but this has changed over time, so always confirm with the current package instructions.
What happens if I don't sterilize jars when a recipe requires it?
Skipping sterilization when it's required increases the risk of contamination and spoilage in short-processed foods like jams and jellies, since the shorter processing time may not be enough to eliminate bacteria on its own.